You might already use the infotype change logging functionality in Personnel Administration, but did you realize the same functionality exist in Organizational Management? Infotype change logging provides the ability to see which user made a change to a field on an infotype, on what day and time the change was made, and what the old and new values are. Infotype audit logging is very helpful when troubleshooting issues or when data changes need to be audited.
In Personnel Administration, infotype change logging is a configuration setting that can be made on an infotype-by-infotype basis or a field-by-field basis. For step-by-step instructions, see the SAP HCM Tip: Setting Up Change Logging for Infotypes article from HR Focal Point.
In Organizational Management (OM), the same functionality exists. The steps below describe the process to configure the OM functionality, and the report that can be run to see the data changes.
Step 1 – Determine the scope
Decide which OM object types, infotypes and subtypes are critical to be included in change logging. It is best practice to choose only critical elements that might need to be audited, rather than including all object types and infotypes. Activation of too many elements might impact system performance depending on the scope of OM functionality that is used, and the frequency of changes to OM data. Find a balance that will suit most situations.
Step 2 – Confirm Infotypes are valid for Change Documents (T77CDOC)
Before configuring which infotypes will be included in change logging, you must confirm that the infotype is available to be used in change logging.
Go to transaction SM30. Enter table name T77CDOC and click on Display:
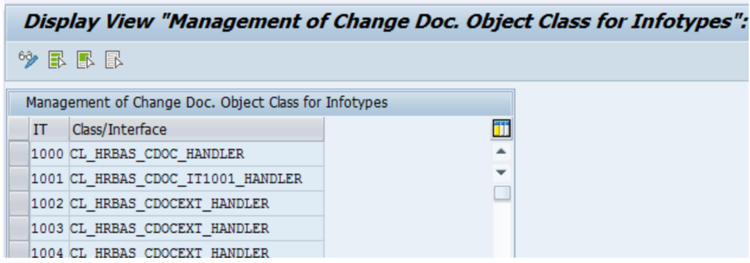
Confirm that the infotypes you plan to use in change logging are included in this table.
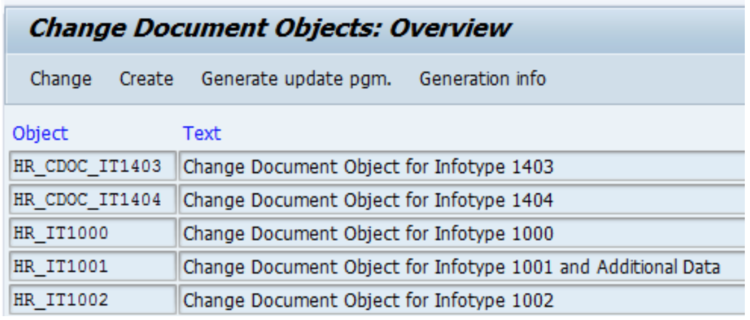
If there is a customer-specific infotype that will be included in change logging and it is not listed in T77CDOC, then it must first be defined as a change document object via transaction SCDO. Here is an excerpt from transaction SCDO:
Step 3 – Activate Creation of Change Documents (T77CDOC_CUST)
Navigate to the table either
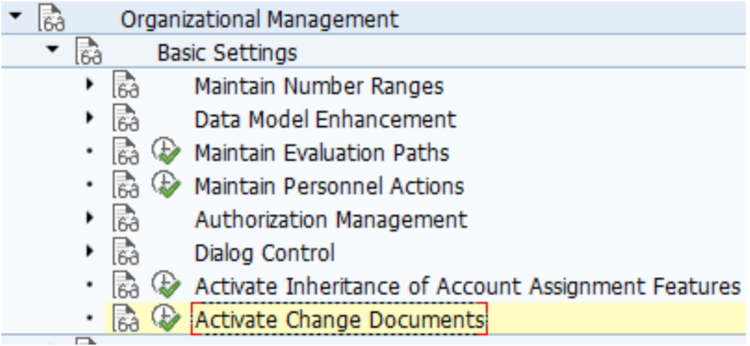
a) Via the IMG:
IMG > Personnel Management > Organizational Management > Basic Setting > Activate Change Document
OR
b) Use transaction SM30 to go right to table T77CDOC_CUST
Initially the table will be empty:
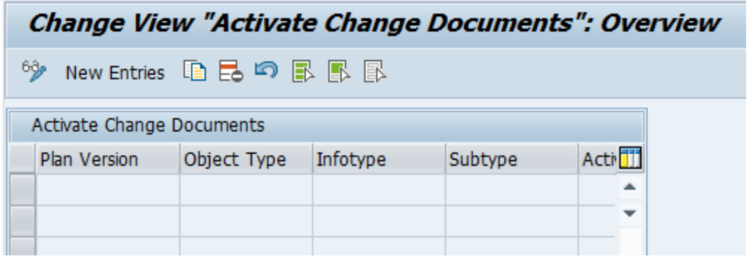
Click on ‘New Entries’:
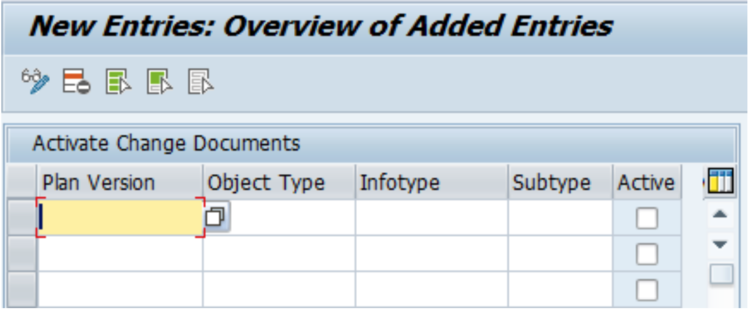
Enter the Plan Version, Object Type, Infotype, and Subtype. Click on the ‘Active’ checkbox.
Continue adding other entries, if necessary. Save the changes and exit the transaction.
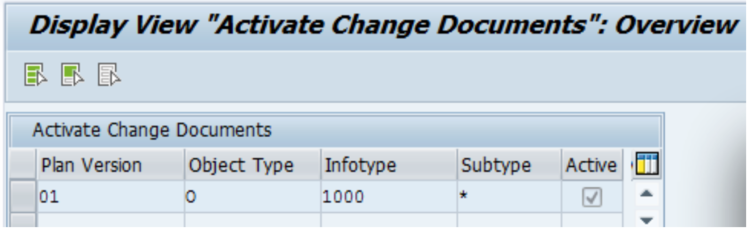
Note: An “*” (wildcard) can be used to indicate that all items should be included. For example, and “*” in the Subtype field indicates that all Subtypes of an Infotype are included.
Here is an example of an entry in the Activate Change Documents table:
Step 4 – Transport the Configuration
Once the functionality is configured, transport the changes through the SAP environment, just like any transport. However, if the configuration is part of a new implementation, or a rollout of a large amount of new OM data, then consider waiting until the data is validated before moving the transport into the environment. This strategy will establish a starting point for the change logging that coincides with the start of actual user data entry.
Step 5 – Run the Report
The OM data changes can be reviewed using the report RHCDOC_DISPLAY.
To run the report, go to transaction SA38, enter RHCDOC_DISPLAY, and click on Execute icon.
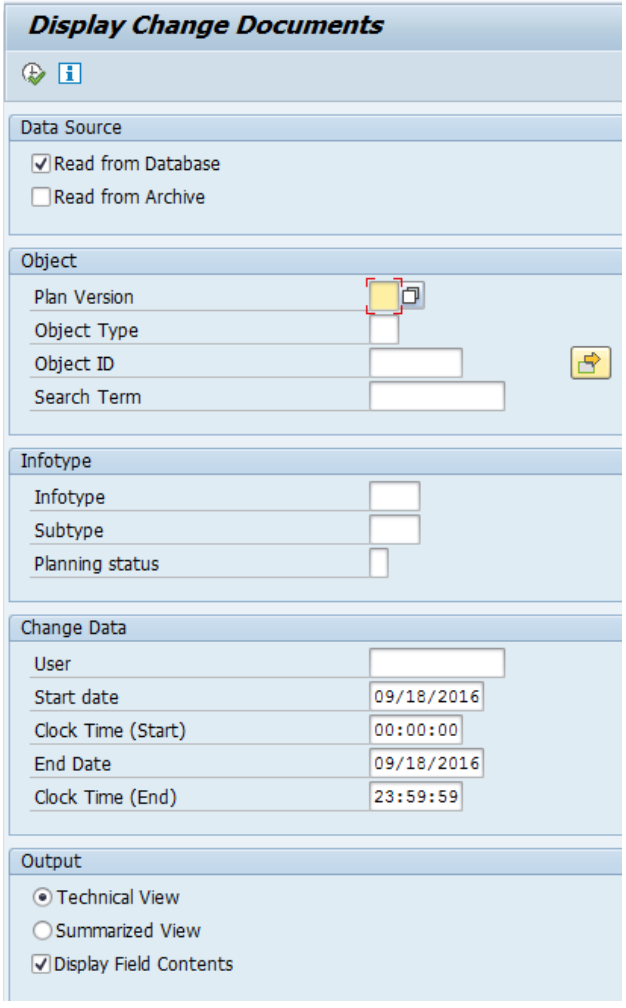
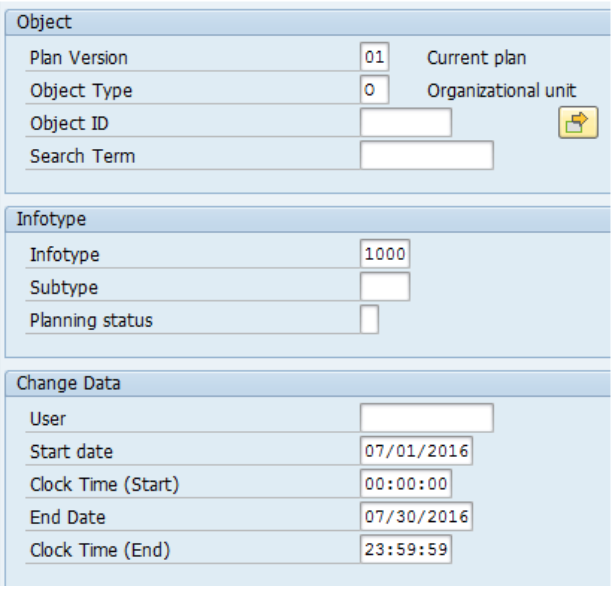
In the Object, Infotype, and Change Data Sections, enter as much information as you have to perform the audit.
In the Output section, make the selection that best suits your needs.
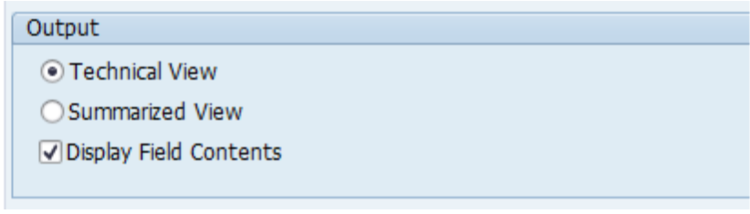
Choose either the Technical or Summarized view. The Technical View shows what is stored in the database. The Summarized View groups together changes, for example the all the changes when renaming an object.
Choose the Display Field Contents box to see the old and new values of the fields in the infotype.
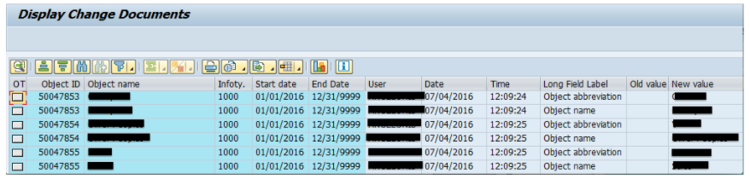
Here is an example of the output with Technical View and Display Field Contents selected:
Leave A Comment?
You must be logged in to post a comment.